If your dog pulls away, freezes, growls, or panics when you touch their feet, a helpful approach is to stop trying to finish the trim. Instead, teach the dog that each part of nail care happens in small, predictable steps and that relaxed behavior makes the process pause or end.
This is cooperative handling: you watch the dog’s body language, work below their stress threshold, and progress only when they remain comfortable. Short sessions may take days or weeks, especially if your dog already has a history of forced or painful nail trims.[1]
Start with a clear stopping rule
Before practicing, decide what relaxed behavior looks like for your dog. A loose body, normal breathing, soft eyes, and the ability to eat treats are encouraging signs. Moving away, leaning away, repeatedly looking away, yawning, shaking off, folding the ears back, tucking the tail, freezing, or refusing food means the exercise has become too difficult.[1]
When you see those signs, stop or return to an easier step. Do not wait for a growl or snap. A growl is useful communication that the dog needs more distance or a break, not behavior to punish.
| What you see | What to do |
|---|---|
| Loose body, eating, staying near you | Continue briefly or make only a tiny increase in difficulty. |
| Looking away, leaning away, yawning, ears back | Pause and return to an easier step. |
| Freezing, trembling, panting, drooling, growling, snapping | End the session. Seek professional help if this happens repeatedly or handling is unsafe. |
Prepare the setup before touching a paw
- Choose a quiet area with good footing. A rug or yoga mat can help a dog feel steadier than a slippery floor.[1]
- Use very small, high-value treats that your dog can eat quickly.
- Have the clippers, grinder, or file ready before the session starts.
- Keep the first practices to about one or two minutes, then stop while your dog is still successful.[1]
- Practice several times a week rather than turning one session into a struggle.
Do not rely on distracting your dog with food while secretly clipping several nails. For a fearful dog, being tricked or restrained can damage trust and make future handling harder.[1]
A step-by-step nail-handling progression
Move to the next step only after your dog can repeat the current step while remaining loose and interested in food. You may need to repeat one level for several sessions.
- Touch the shoulder or hip. Touch briefly, say a calm marker such as “yes,” and give a treat.
- Glide down the leg. Begin at the shoulder or hip and move only as far as your dog remains comfortable. Reward, then release.
- Touch the paw. Briefly touch the paw without lifting it. Treat and stop.
- Support one toe. Hold one toe for a moment, then release before your dog pulls away.
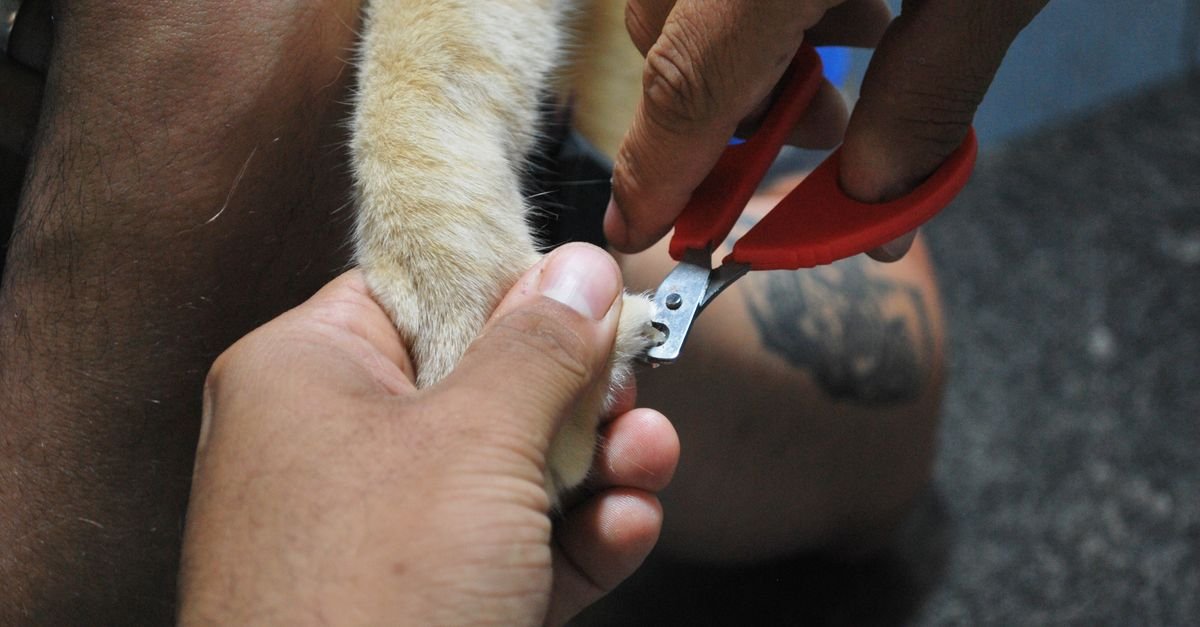
- Show the tool at a distance. Hold the clippers where your dog can see them, deliver a treat, and put them away. If using a grinder, introduce its appearance before its sound.
- Hold the tool while touching the paw. Do not bring it to the nail yet. Reward calm paw handling with the tool in your other hand.
- Approach the nail gradually. Move the tool closer in small increments. Reward each comfortable approach.
- Touch the nail with the tool. Lightly tap or place the clippers against the nail without cutting.
- Introduce the sound separately. If using clippers, practice clipping a drinking straw, dry pasta, or toothpick away from the paw so the sound is not a surprise.[1]
- Trim one tiny sliver. Give a generous reward, then end the session if your dog remains calm.
Know where it is safe to cut. The quick contains blood vessels and nerves, so cutting into it can cause pain and bleeding. If you cannot clearly identify a safe cutting point—especially when nails are dark—ask a veterinarian or experienced professional groomer to demonstrate before trimming. Veterinary guidance describes progressing from one nail to several nails and eventually a full trim as the dog’s comfort improves.[2]
The goal is not to complete all four paws immediately. One nail—or even simply holding a paw calmly—can be a successful session.
Use the dog’s preferred position
There is no single correct posture. Some dogs prefer standing; others are comfortable sitting or lying on their side. Avoid forcing your dog onto their back or holding them tightly if that position causes resistance. A comfortable position makes it easier for the dog to move away and communicate before fear escalates.
If you need a second person, their job should be to deliver treats and help maintain a calm environment—not to pin the dog down. If the dog cannot eat, relax, or remain safely manageable, the session is too difficult for home practice.
Clippers, grinders, files, or a scratch board?
Choose the tool your dog can learn to tolerate. Clippers are quick but create a sudden snapping sensation. Grinders may produce less cutting pressure but add noise and vibration. A file is quieter for some dogs, although it may take longer. Some dogs can also learn to scratch on an abrasive board as an alternative or temporary way to wear down certain nails.[3]
Whichever tool you choose, introduce its appearance, sound, and contact separately. A tool that works well for one dog may be the wrong starting point for another.
When to pause home training and get help
Ask your veterinarian to check your dog if paw handling suddenly becomes difficult, especially if there is limping, licking, swelling, a broken nail, or another sign of pain. Pain can make ordinary handling feel threatening.
Get professional help if your dog trembles, drools, pants heavily, repeatedly growls, snaps, or cannot remain safe during practice. If nails are already dangerously long, your veterinary team can discuss a low-stress trim while you continue cooperative-care training afterward. For severe fear, a veterinarian may also discuss appropriate anxiety support; do not give calming medication or sedatives without veterinary direction.[1]
For broader preparation strategies that can help dogs cope with handling outside the home, see How to Prepare Your Dog or Cat for a Less Stressful Vet Visit.
A flexible practice plan
Use these as flexible milestones rather than a timetable. Your dog may move through them in a different order, remain at one level for several sessions, or need to return to an easier step.
- Early practice: Touch the shoulder, glide partway down the leg, and reward while your dog remains comfortable.
- Next milestone: Touch and briefly support the paw, then release.
- Tool introduction: Add the tool at a distance, then gradually bring it closer as your dog stays relaxed.
- Later practice: Touch one nail, practice the tool sound separately, and eventually trim one tiny sliver.
If your dog shows stress, go back one or more steps. Progress is measured by calmer communication and easier recovery—not by how many nails you finish.
Pause-or-progress checklist
Progress: your dog stays loose, accepts treats, remains near you, and recovers quickly after each touch.
Pause: your dog turns away, leans away, yawns repeatedly, tucks the tail, freezes, refuses food, or tries to leave.
Stop and seek help: your dog trembles, drools, snaps, bites, or cannot be handled safely.
Sources
- Taking the Stress Out of Nail Trimming for Dogs — VCA Animal Hospitals
- How to Trim a Dog’s Nails — VCA Animal Hospitals
- This Dog Trims His Own Nails. Yours Can, Too! — American Kennel Club